24 Apr 2026
Post by Seraphiel
Introduction
Personalizing your local account name in Windows 11 adds a unique touch to your computing experience. Whether setting up a new device or redefining your current setup, changing your account name can streamline your interaction with the system. This guide provides you with detailed steps, troubleshooting advice, and expert recommendations to change your local account name seamlessly and maintain system coherence throughout the process.

Understanding Account Types in Windows 11
Before you begin, understanding Windows 11 account types is crucial. You have two main options: local accounts and Microsoft accounts.
-
Local Accounts: Ideal for users wanting privacy, these accounts exist only on individual devices without needing an internet connection.
-
Microsoft Accounts: These offer cloud connectivity, allowing for settings and app synchronization across devices, perfect for users seeking an integrated experience.
Customizing your local account name aids privacy and reinforces system personalization without necessarily using cloud-based services.
Preparing to Change Your Local Account Name
Preparation is essential for a successful name change. Undertake these steps:
-
Back Up Important Data: Safeguard your files by backing them up to prevent data loss during sudden changes.
-
Check Permissions and Account Types: Ensure you have administrative rights to enact system-level changes. Confirm whether it’s a local account, as the process differs slightly for Microsoft accounts.
Proper preparation ensures that the transition is smooth and data remains intact, allowing you to change the account name without hindrance.
Step-by-Step Guide to Changing Your Local Account Name
Let’s delve into the methods available for changing your local account name in Windows 11:
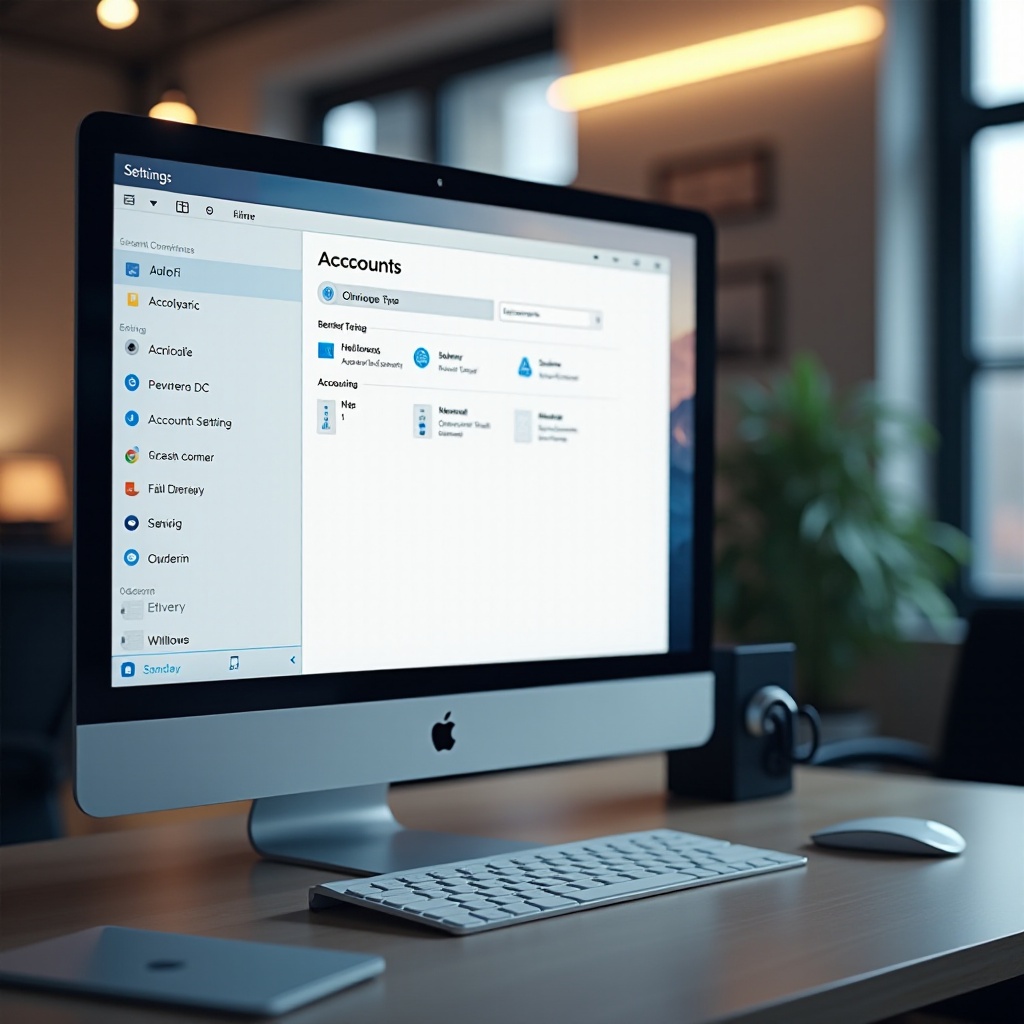
- Using the Settings App:
- Access the Settings app by pressing ‘Windows + I’.
- Navigate to ‘Accounts’, then ‘Your info’, and select ‘Manage my account’.
- Click ‘Edit name’, input the new account name, and save changes.
-
Restart your computer to enable the changes.
-
Via Control Panel:
- Open Control Panel from the Start menu.
- Go to ‘User Accounts’ and select ‘Change your account name’.
- Enter the new name and confirm changes.
-
Log out to see the updated name on the login screen.
-
Command Prompt and PowerShell Methods:
- Run Command Prompt or PowerShell as an administrator.
- Use the command:
wmic useraccount where name='oldname' rename 'newname'. - Swap ‘oldname’ and ‘newname’ with the actual and desired names.
- Close and restart your PC to apply changes.
Each method offers flexibility to accommodate different user preferences while making the process accessible and easy to follow.
Verifying Your Changes
Once you’ve changed your account name, verifying these changes is vital to ensure consistency throughout the system:
-
Logging Out and Back In: Log out of Windows, then log back in to confirm that the name has updated correctly on the login screen.
-
System-Wide Consistency Check: Check
C:\Usersin File Explorer to ensure your profile folder reflects the new name. If discrepancies arise, further adjustments may be needed.
Verification guarantees the successful application of the new name, ensuring uniformity and averting potential issues.
Troubleshooting Common Issues
Encountering issues when changing account names is not uncommon. Here’s how to tackle them:
-
Resolving Sync Errors: Should settings not update promptly, restart your device to facilitate synchronization.
-
Profile Path Concerns: Applications resisting the new name may require updating the profile path in their settings or reinstallation to match the updated profile.
Troubleshooting empowers you to resolve glitches, ensuring your Windows experience remains smooth and unhampered.
Expert Tips for Managing User Accounts
Managing user accounts efficiently in Windows 11 improves security and streamlines usage, especially with multiple accounts:
-
Security Best Practices: Use strong, unique passwords and enable two-factor authentication when available for added security.
-
Effective Naming Conventions: Choose straightforward names that define the account’s user or purpose clearly, avoiding special characters that might complicate file paths.
These tips facilitate better management of your accounts, enhancing security and ease of use across your Windows 11 environment.
Conclusion
In conclusion, changing your local account name in Windows 11 involves clear, methodical steps that enhance user experience and device personalization. Proper preparation, method selection, and aftercare ensure a smooth transition, minimizing disruptions and maintaining the system’s integrity.
Frequently Asked Questions
Can I change the local account name without admin rights?
No, administrative privileges are required to change a local account name in Windows 11. Ensure you have the necessary permissions or contact an administrator.
Will changing my local account name affect my files?
Generally, changing the account name does not impact your personal files. However, it’s always advisable to back up important data before making system changes.
How often can I change my local account name?
There are no restrictions on the frequency of changing your account name in Windows 11. However, frequent changes may lead to confusion, so apply changes judiciously.