24 Sep 2025
Post by Seraphiel
Introduction
For any avid gamer, keeping your Nintendo Switch controllers fully charged is fundamental to maintain seamless gaming sessions. Whether you’re new to the Nintendo world or a seasoned gamer, understanding how to keep your controllers powered can significantly enhance your gaming enjoyment. This guide will walk you through various charging techniques, tips on battery health maintenance, and solutions for common charging hiccups.
Understanding Your Nintendo Switch Controllers
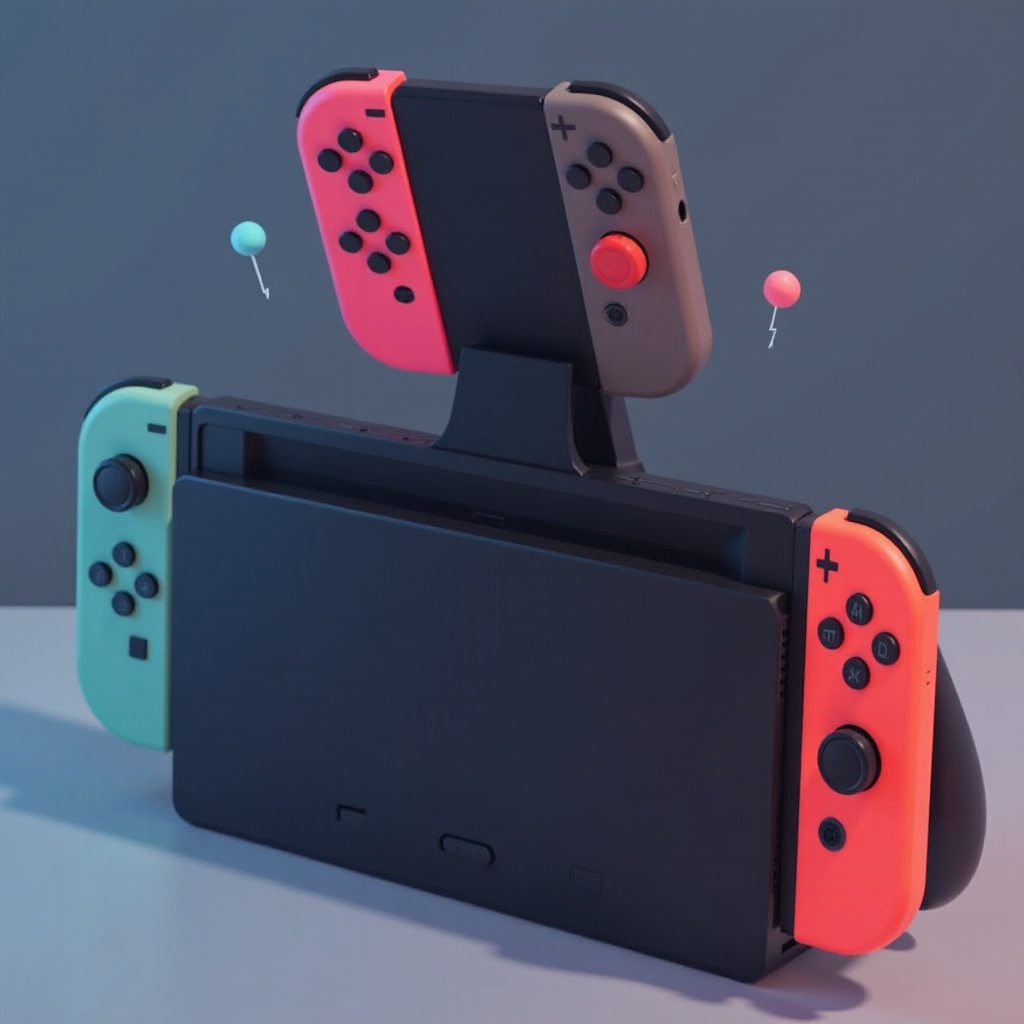
Before delving into the specifics of charging, it’s important to grasp the diversity of Nintendo Switch controllers. The console supports a variety of controllers to suit different gaming preferences. Joy-Con controllers are versatile, acting as standalone controllers or as a single unit when attached to the console. The Pro Controller, on the other hand, offers a more conventional and ergonomic gaming experience. Each type has distinct charging needs, and knowing these will help maximize their functionality and lifespan. Let’s explore these controller types in greater detail to lay a foundation for the charging techniques.
Charging Methods for Joy-Con Controllers
Joy-Con controllers are compact and versatile, offering several charging options to suit your needs.
Charging via Console
- Attach each Joy-Con to the Switch console’s sides.
- Ensure the console connects to a power source, either directly or via the dock.
- This will allow the Joy-Con to charge along with the console.
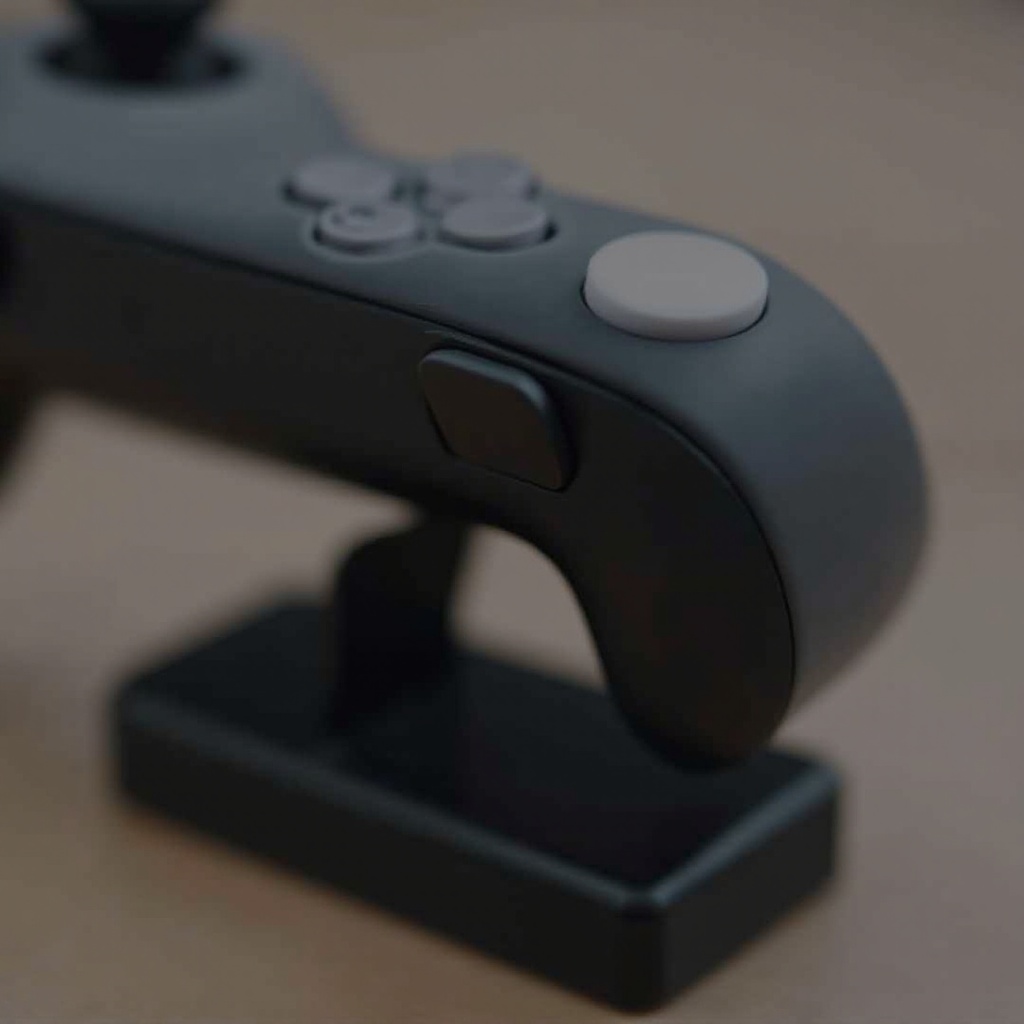
Using the Joy-Con Charging Grip
- Securely insert the Joy-Con controllers into the charging grip accessory.
- Connect this grip to a power source with a USB cable.
- The grip indicates when charging is complete.
Alternative Charging Dock Options
- Consider buying a dedicated Joy-Con charging dock.
- Align each Joy-Con properly in the dock.
- Connect the dock to a power source to charge multiple Joy-Cons at once.
These methods offer flexibility, whether you’re charging on the go or planning extended gaming sessions.
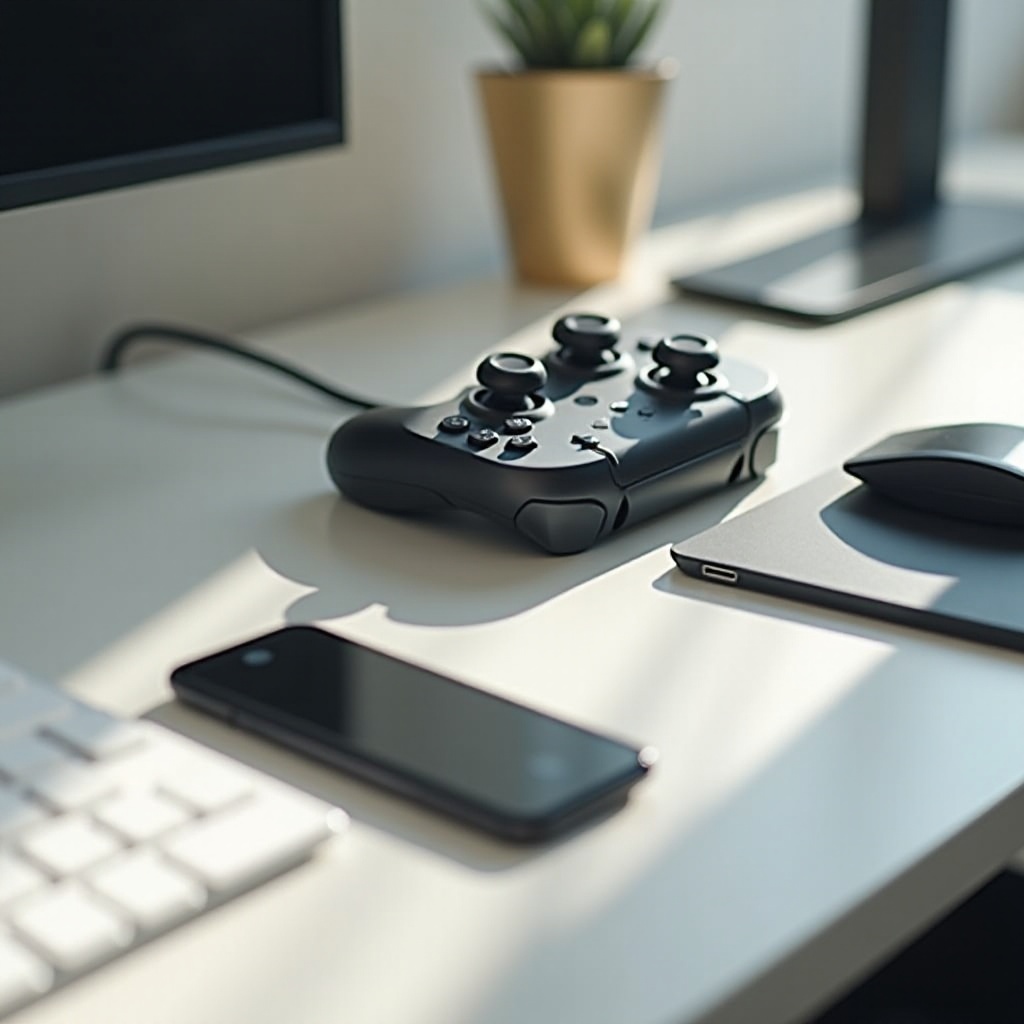
Charging the Nintendo Switch Pro Controller
The Pro Controller, known for its durability and ergonomic design, also offers varied charging methods.
USB-C Cable Charging Process
- Attach the USB-C cable to the Pro Controller and power source.
- Utilize a wall charger or the USB port on the Nintendo Switch dock.
- Charging from low battery often takes a few hours.
Wireless Charging Possibilities
While the Pro Controller doesn’t natively support wireless charging, there are alternatives:
– Invest in third-party wireless charging kits made for the Pro Controller.
– Properly attach components and place them on a compatible charging pad.
Despite wireless options, USB-C charging remains the fastest and most dependable method.
Tips for Prolonging Battery Life
To keep your controller batteries in top shape, implement these simple yet crucial practices.
Optimal Charging Practices
- Don’t let your controller’s battery completely deplete before recharging.
- Regular top-ups are better than waiting for a full discharge.
Avoiding Overcharging and Battery Drain
- Disconnect the controller once fully charged to avoid overcharging.
- If you’re storing the controller for a while, keep it in a cool, dry environment.
By following these practices, you ensure the longevity and reliability of your controllers’ batteries.
Troubleshooting Common Charging Problems
No technology is without glitches, and at times, your controllers might face charging issues.
Identifying Battery and Hardware Issues
- Check cables and ports for visible damage or debris.
- Ensure your console software is updated, as firmware updates can fix connectivity issues.
Solutions and Preventative Measures
- Reset the controller by pressing the sync button for five seconds.
- If difficulties persist, consider replacing old or damaged cables.
Preemptively tackling these common hurdles minimizes downtime and enhances your gaming enjoyment.
Conclusion
Efficient charging of Nintendo Switch controllers is vital for optimizing gaming moments. Familiarize yourself with the charging methods for both Joy-Con and Pro Controllers, instill good charging habits, and proactively resolve issues. This ensures consistent gaming pleasure. Enjoy uninterrupted adventures!
Frequently Asked Questions
How long does it take to fully charge a Nintendo Switch Pro Controller?
The Pro Controller generally takes around 6 hours to fully charge, depending on the initial battery level.
Can I charge my Joy-Con Controllers with a power bank?
Yes, you can, provided you have the correct cable adaptor. Ensure that the power bank’s output matches the required voltage for safe charging.
What should I do if my controller isn’t charging?
First, inspect the connection ports and cables for issues, attempt a controller reset, and if problems continue, contact Nintendo support for further assistance.